


These handprint plaques are a great keepsake as well as a great gift for grandparents.
Here is how to make these simple and cheap handprint plaque keepsakes:
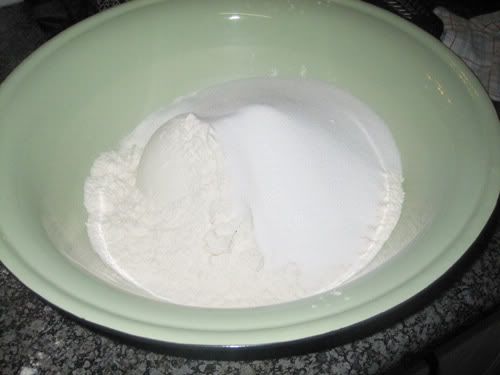
Mix 1 1/2 cups salt and 4 cups flour in a large bowl. Gradually add about 1 1/2 cups of water(i used 2 cups) until dough forms a ball around the spoon.(I mixed with my hands).
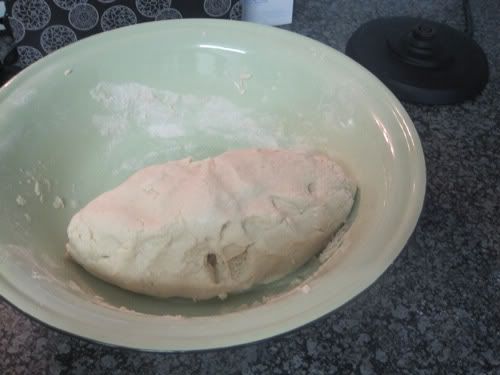
Knead the dough with your hands until it looks right as seen above.
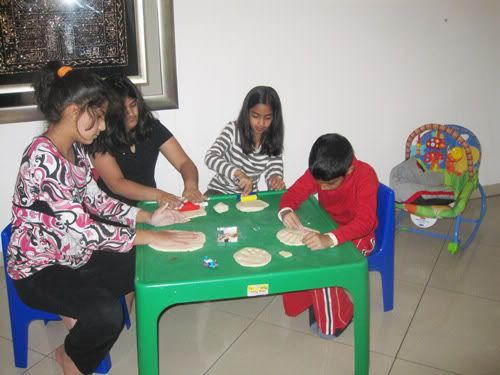
Then place childs hand into the dough until their handprint remains. Attach a paperclip to the back of the dough.
Place them on a baking sheet.
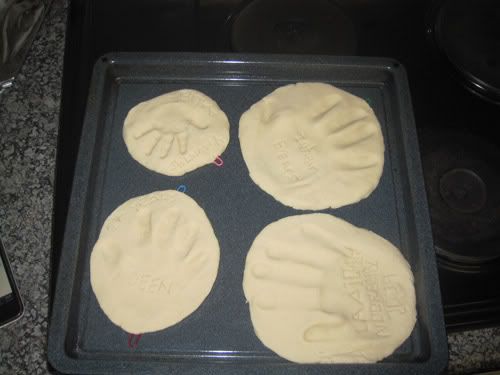
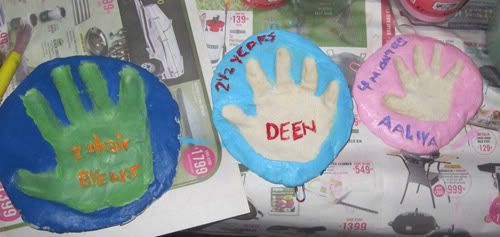
When done paint with acrylic and embellish as desired.

If you make this I'd love to see it! Leave the link in the comments section so others can see it as well.
We found this recipe at kids craft magazine.
Wednesday, September 30, 2009
Handprint Plaque


Tissue Paper Mosaics
Todays Open ended art theme was egg shells or tissue paper mosaics.. so we went with tissue paper... Looking at these pictures especially the tree .. I am truly amazed at kids creativity.
Go to Growing and Learning by Leaps and Bounds to see what others did for the open ended art mosaic theme.


Giveaway Winner - Coco Loco Felt Designs
According to random.org our lucky winner is.... Comment #28....
Beth (Finding Mephitees)... Congratulations Beth!!! I will be emailing you asap! :)
(unfortunately my program screen hunter is not working in order to do a screen capture)
Thanks to everyone else who entered and a special thank you to Coco Loco Felt Designs for donating a product for this giveaway!

Tuesday, September 29, 2009
Lets go fishing! (+ printable)
This fun and easy to make fishing game provided us with a lot of fun today. This activity is great for hand/eye coordination.
Materials needed: paper plate, foil, paper clips, dolly pegs or any type of stick (or even an old marker), blue card paper (i used poster board paper), string, and small magnet.
First print out the fish images on cardstock (or normal paper and laminate). Print two copies so that there are more fish. Ive included a fish printable here

** You can use glue now if you like to secure the foiled paper plate to the blue paper (optional)
Add paper clips to the fish.
I used a dolly peg as the fishing stick and tied a piece of string around it as well as around a small magnet.
(For younger kids make the string shorter than for an older child since it is easier to control with a shorter string.)
You can use a stick from outside(twig), old marker, or even an old magnetic fishing game stick that you have lying around instead.
At the end of the game have the kids tally the points at the back.
This activity was inspired by The Ultimate Craft book


Monday, September 28, 2009
Bumblee Bee Fingerprints
Today we made fingerprint bumblebees.
Materials needed: Black construction paper, yellow tempera paint, toothpick , white chalk, and tiny fingers :)
(ok... it doesnt have to be tiny... mamas can do it too!)
Have your child dip their finger into the yellow tempera paint and press that onto the black sheet. Do this as many times as you want bumblebees. Then take a toothpick and make two scratches (so you basically are scratching off the paint).
Add wings with chalk :)

Thursday, September 24, 2009
Water Color Fun
We did two water color activities:
1) Salty Watercolors from Marryann Kohls First Art Book
2) Open ended watercolor art!
Salty Water Colors:
Materials Needed: Card stock(I generally use card stock for art projects), water colors, paintbrushes, water, glue, salt
In the picture above, each child is on a different step (minus the waiting of course... that's the hard part hehe)
Step 1: Add glue to your paper in the design you want.
Step 2: Sprinkle salt Above and then tilt salted paper back into salt dish to get rid of excess salt.
Step 3: Wait for it to dry for a little bit of time... blow it... talk..chat... for like 2 - 3 minutes.(You don't have to wait for it to dry but I find that it comes out better if you do)
Step 4: Touch your paintbrush that has watercolor on it to the tip of the salt on your paper to watch the colors spread.
Here are the finished pictures:
Deen's is the one on the upper left corner... i have absolutely no idea where his salt disappeared to???
When these were dry they look BEAUTIFUL... they are very glittery and sparkly!
After this we did some Open ended watercolor art...


Wednesday, September 23, 2009
Playdough, Colored Pasta and Rice Fun!
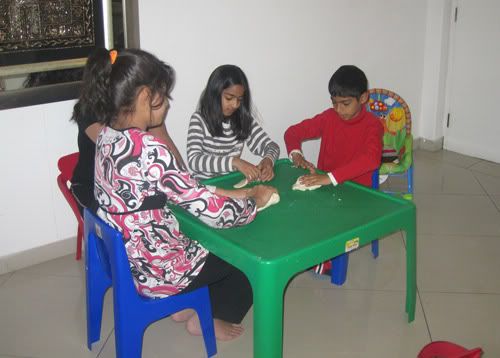
Today's Open Ended Art theme was Playdough/clay and mosaics. This activity was SO much fun because Deen had his cousins over to play. Its a nice change to be doing open ended art with older children. Their concentration is so much better and they really enjoy themselves.
My only regret is that we didn't use clay... these would be so pretty and I have no idea how the homemade playdough is going to look once dry.. I don't think it can be used as a substitute to polymer clay :( :( :(
It would have been nice then for the kids to have something to take home to show their parents and display in their homes...
We cut out shapes of playdough using playdough/cookie cutters.
Then I placed some colored pasta and colored rice (it can be made the same way as colored salt) on the middle of the table
Here is mine:
See how hard they are all concentrating
And Laaiqah's tree and snowman
Check out Growing and Learning By Leaps and Bounds to see what others did this week in open ended art.


