


We found the instructions for this hand print duck here at enchanted learning. Enchanted Learning is a site full of great craft ideas... You should definitely check it out.
Materials: White Paper Plate, Orange construction paper (cut feet and beak out of this), white paper for eyes, yellow construction paper for face and feet, yellow paint, and a stapler.
Trace hands onto yellow paper and cut out.
Cut out beak and feet from yellow paper.
Fold plate in half and paint it yellow. Wait for it to dry.
Make a cute ducky face...
Staple feet, hands, and face to your paper plate and there you have your duck... :)
Showing posts with label crafts. Show all posts
Showing posts with label crafts. Show all posts
Tuesday, March 2, 2010
Handprint Duckie


Tuesday, January 19, 2010
Flowers for you...
Here is a really sweet valentines day activity that children will be so proud of.
We found this activity here and couldn't wait to get started on it.
Trace your child hand and part of their arm and cut.
Cut out some stems, leaves, and flowers.
Glue your flower stems down and glue the tops of your fingers down. (For the fingers I used double sided tape and it worked great)
Do not glue the top of the stems, it looks a lot prettier when it isn't glued.
Glue leaves and flowers onto stems.
Here is mine (our first try at this activity)
And here is Deen's tiny hand
Add a poem or sweet valentine saying to give to Daddy or to your childs teacher :)


Sunday, December 6, 2009
Tissue Paper Fish
We made fish "colored in" with tissue paper.

And then stuck tissue paper on the fish


Monday, November 30, 2009
Coffee Filter Butterflies
Materials Needed: Coffee Filters (We used Coffee Filter Bags), pipe cleaners, washable markers, food coloring and water, and a water spray.
First I opened up our coffee filter bags to make more of a butterfly shape.
First Deen experimented with the food coloring. (I added some food coloring to water inside an ice cube tray to create a rainbow of colors.)
He learned how to squeeze the dropper and to stop squeezing to fill the dropper with the color. He then squeezed again to drop the color onto the coffee filter bag.
Look at how the color spreads.
Here is mine.
Can you see how much fun he was having? :) My sweet son! My heart melts when I see him enjoy our activities together.
Then we colored a coffee filter bag using washable marker...
Then sprayed it with water. Deen LOVED the spraying part. I need to look for more water spraying activities since he seems to really enjoy it.
When dry, add pipe cleaners.


Thursday, October 29, 2009
Halloween Shadows
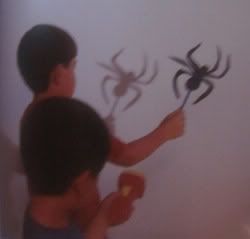
We created Halloween Shadows today and this proved to be great during bedtime.
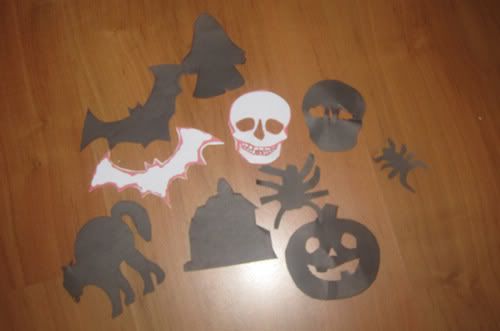
I downloaded the Kiddy Halloween Font and added them to Microsoft Word. I printed it on black paper and cut out the shapes.
Tape a straw or stick to the back and go into a darkened room. Flash the flashlight through your image onto a wall or doorway.
The possibilities for this are endless. Imagine storytelling using these shadows or others :)
Monday, October 19, 2009
Elmo cut and paste activity + printable!
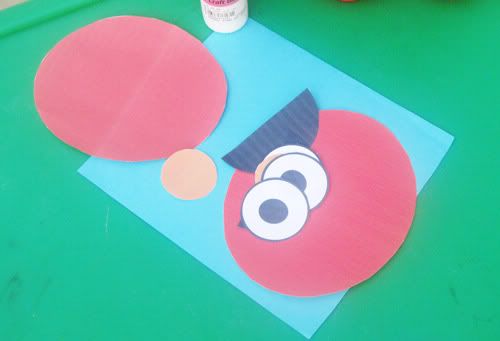
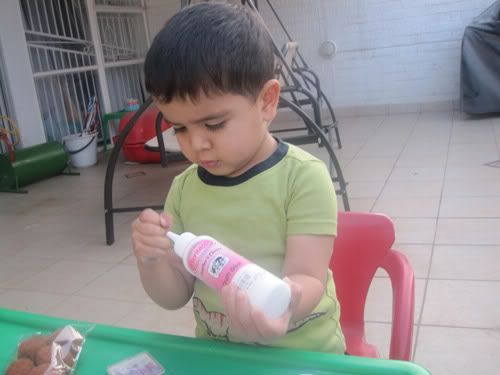
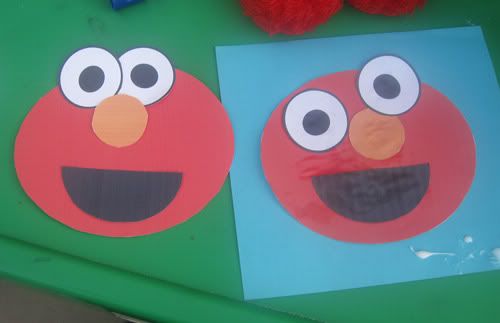
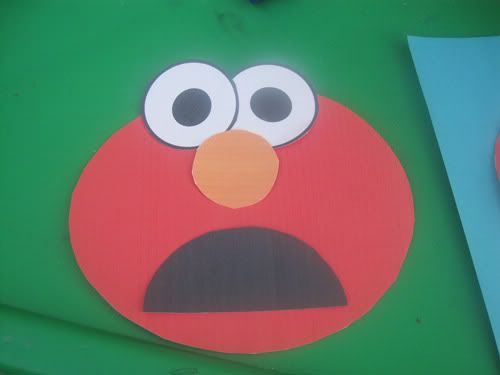
Want to do this Craft with your child? Here is a printable... (Or click on the image to go to link)
We were actually planning on doing an elmo painting activity today but I did not have the materials on hand so we will be doing that soon too.

Tuesday, October 13, 2009
Styrofoam Spider
Styrofoam spiders are fun and quick to make!
Materials Needed: 3" Strofoam balls, black paint (I used acrylic since i didnt have any black tempera), black pipe cleaners, glue, googly eyes.
With a Knife cut a piece off the bottom of a ball so it sits flat.
Cut pipe cleaners in half.
When dry stick the pipe cleaners into the balls. (4 pipe cleaners per side.)
Since I did not have 3" styrofoam balls I just trimmed my pipe cleaners afterwards so the legs weren't too long.
Glue on google eyes and with a red marker.. or red paint... make a mouth. (We used puffy paint.)
When dry you can stick a needle through the body (in and out) with a thread and hang it up onto a ceiling as a pretty decoration.


Wednesday, October 7, 2009
Animal Feet and More Tissue Box Fun!
Here are a few fun ideas with tissue boxes...
Animal Feet:
I would suggest using white tissue boxes unless you plan on using a dark color(black...) or using a million coats of paint... (it took me forever to cover the blue and yellow design on my orange feet!)
Materials needed: Empty tissue boxes, acrylic paint, foam, paint brushes, sponge.
When the base color is dry or almost dryish take a sponge and dab your box with yellow paint. (If you were making the yellow foot than dab with orange paint).
When dry add black lines around your box and then cut some foam nails and place on top. (I was supposed to use orange but I didn't have any orange foam.)
More Tissue box ideas:
Paint a tissue box in pretty colors to match your room and use it as decor :)
Paint it in Halloween colors, paint ghosts and pumpkins on your box and add candy into the box! (this would be great for a Halloween party or even to leave full of candy outside your door on Halloween if you're not going to be home.)


Wednesday, September 30, 2009
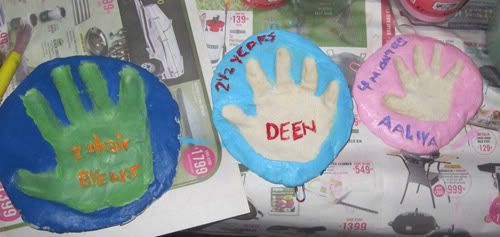
Handprint Plaque
These handprint plaques are a great keepsake as well as a great gift for grandparents.
Here is how to make these simple and cheap handprint plaque keepsakes:
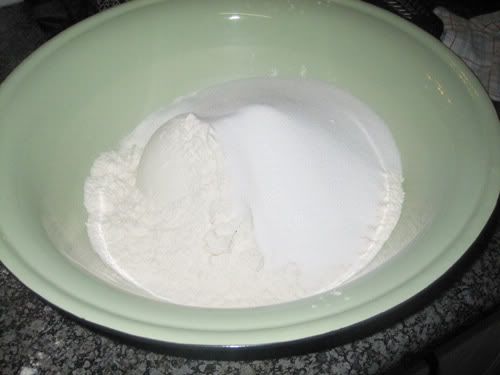
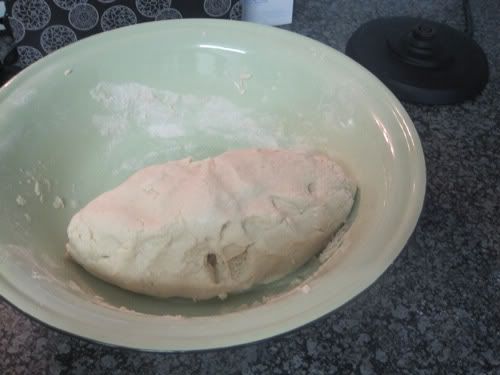
Mix 1 1/2 cups salt and 4 cups flour in a large bowl. Gradually add about 1 1/2 cups of water(i used 2 cups) until dough forms a ball around the spoon.(I mixed with my hands).
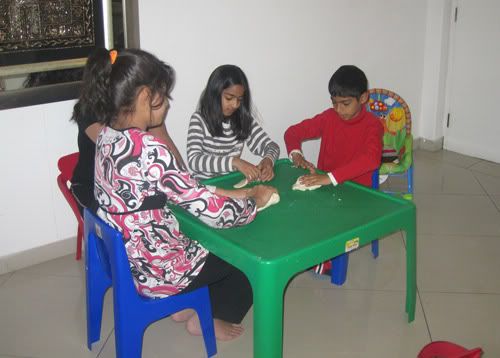
Knead the dough with your hands until it looks right as seen above.
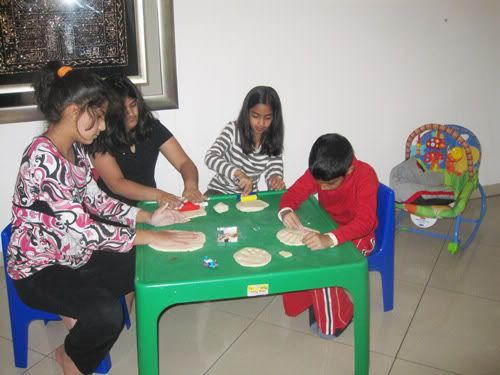
Then place childs hand into the dough until their handprint remains. Attach a paperclip to the back of the dough.
Place them on a baking sheet.
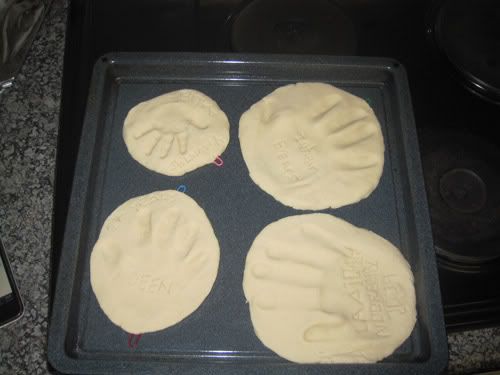
When done paint with acrylic and embellish as desired.

If you make this I'd love to see it! Leave the link in the comments section so others can see it as well.
We found this recipe at kids craft magazine.
Subscribe to:
Posts (Atom)


