


After yesterdays lady bug craft I decided to try a lady bug art project. This activity proved to be fun AND messy!
Materials: Red and black paint, 2 paper plates. *Red colored rice is optional*
Cut the circle(head) and antennas out of one paper plate. Leave the other for the ladybug body.
Paint


Glue on head and antennas.
Add colored rice... because Deen likes to add colored rice to everything... it's his favorite part! :)
And there you have it... a pretty ladybug!
"Deen! No! Don't rub your eyes!!"
Uh Oh....
That is what Deen looked like after....
and this was me afterwards...
Note to self: NEVER do art without an art apron... :)
But then Deen came to me and says "Mama... I had so much fun"... and that made it all worth it :)
Tuesday, February 16, 2010
Ladybug Fingerprint Painting


Monday, February 15, 2010
Ladybug Cut and Paste Activity + Printable
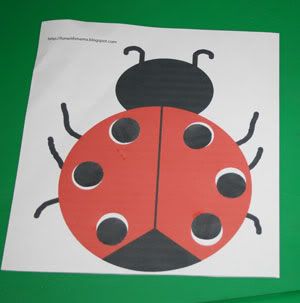

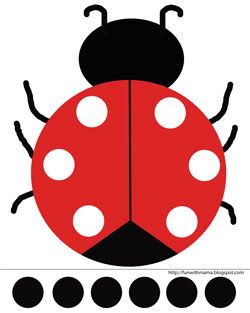

Click here to download/print this activity.
Print the page that you would like to use or print them all.
I suggest printing on "Fast Normal" to minimise on ink usage.
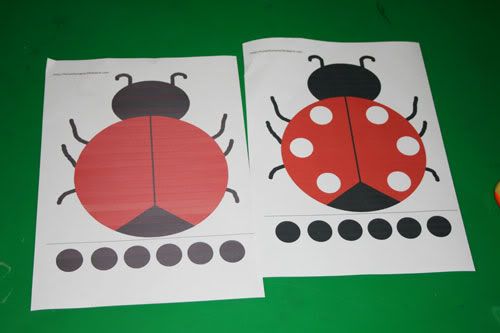
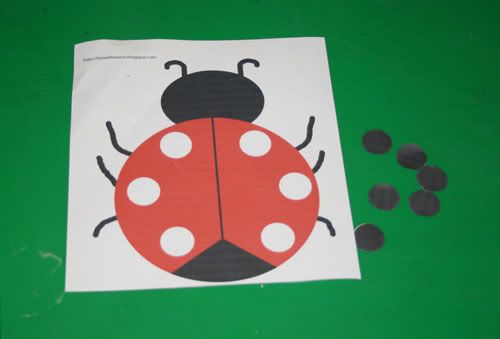
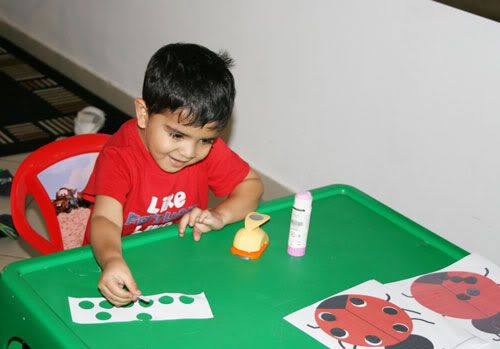
I then cut out my circles with my 1" scrapbook circle hole punch(it made this so quick and easy!). If you would like to practice on your child's cutting skills here would be the time to give them a pair of scissors and have them cut the circles out as best as they can.
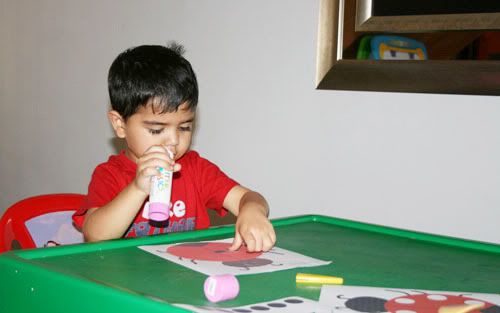
Then glue the dots to the ladybug.
After we were done with this activity Deen had fun cutting out extra circles by himself
I hope you find this printable fun and useful for your child. :) Enjoy!
For more fun printable ideas check out Abc and 123

Marble Maze Review and giveaway
Cuddlebug Kids sent us some marble mazes to try out and review. It is basically a marble placed between two very soft pieces of material in a maze form. The idea is to manipulate your hands/fingers to move the marble from one area to another all without actually being able to visually see the marble. This is an excellent hand toy/fidget that is great for concentration. It makes a wonderful car toy, grocery store toy, basically anytime you would like to keep your kids busy this would be a great toy to take along.
"The marble maze series gives kids something fun to do with their hands to help busy minds stay focused"
Fruity Twist Marble Mazes:
The Serpentine maze zig zags back and forth (lemon/lime)
The Double S maze has a mirror image zig zag with 2 marbles to manipulate at the same time (tangerine/lime)
Have you ever found yourself subconsciously doodling in school while your teacher was talking? I used to do that but just because I was doodling, doesn't mean I wasn't paying attention.
Cuddlebug kids handmade "products help provide structure and sensory support to kids with ADHD, Asperger's Syndrome, PPD-NOS and Sensory Integration Disorder." That is no limitation though as I find their products to be great for kids without the above disorders too!
Although I don't have one of her gorgeous weighted stuffed toys it is definitely on my wish list!
and... that is not on my wish list for my son... I want it for myself!
It looks so cozy! :)
"Weighted animals can help little nervous systems calm down enough to participate in story times, circle time, and other seated activities. Sitting on a child’s lap or being carried around the classroom or home, Lovie can help provide deep muscle input to calm little ones."
Cuddlebug Kids has offered one of my readers the chance to win a set of marble mazes!
Read on to learn how to enter.
Mandatory Entry: Visit Cuddlebug Kids Store and leave me a comment here telling me which item interests you most.
Extra Entries(leave appropriate comments for each extra entry):
Visit Cuddlebug Kids Blog and leave a comment (1 entry)
Subscribe to my blog in a reader. (1 entry)
Become a follower of mine. (1 entry)
Add my button to your sites sidebar. (1 entry)
Tweet about this giveaway. (1 entry. Leave link to tweet in comment)
Post about this giveaway on facebook. (1 entry. Leave a link to your facebook page)
Blog about this giveaway (2 entries. Leave link to blog entry in comment)
This giveaway will end at midnight on Sunday February 28, 2010. Good luck to all my readers!
*Disclaimer: I was not paid to do this review. I was given a free product to try and to review honestly.*


Tuesday, February 9, 2010
Crawling Knee Pad Tutorial - Sewing

Fabric (i used a woven cotton),
nursing pads (or cotton knit , fleece, bamboo/cotton velour, or any fabric for padding), elastic
Aaliya started crawling 2 weeks ago(8 months old) and I was worried that the tiles on the floor would be a bit hard for her to crawl on. It is still really hot here so she isn't wearing pants all that often. I looked online for a tutorial to make some crawling knee pads but I couldn't find any.... so I attempted it myself.
Please remember that i'm still new at sewing so this may not be the 'right' way to do it... but it is the way that i did it.
First , I decided to use some old nursing pads to use as the padding part (you can easily substitute this for 2-3 layers of another fabric like knit, bamboo/cotton velour, anything that will give padding. Just cut them in desired circle size and sew the layers together)
I measured my nursing pads and then created a circle picture in photoshop elements..(i made the circle 4 by 4".) I cut that out then cut 4 layers of my printed fabric.
I measured around Aaliya's thigh area and knees and subtracted an inch for the elastic.
I used Fold Over Elastic because it was pretty and soft but if I had to make these again I would use normal elastic since it wouldn't be as slippery on pants.
The fold over elastic doesn't stitck to the pants since it is so soft so the knee pads move around a little. This would definitely be remedied by using normal elastic which has a tighter hold.

Trim the excess... (make sure not to cut through any stitching)
Tuck in the edges of the area u left open and topstitch around the whole thing. (Make sure to use the same color thread for this part so that it looks neat)
And she's off!
(yep... I can see that...
NOTE: Do Not Use Fold Over Elastic... use REGULAR elastic.
Reason:the knee pads will roll up as in the pic above.. next time I will make sure to use normal elastic)
I know that kids don't have knee caps yet but it is a light layer of padding and I do think its a little more comfortable for them. Sort of like crawling on carpet.
I hope you found this useful :) If you know of any other way I'd love to hear it since I think these are pretty cute and unique. I would love to try it again.


Tuesday, January 26, 2010
Happy 3rd Birthday Deen!

I can't believe Deen is already 3.... Time is flying by...
Deen loves mickey mouse so we had a mickey mouse theme for his birthday party. We had a bbq for his birthday and kept the party very small, only my hubby and I's immediate family(and kids)
The cake above is the cake I chose for Deen and the cake below is the cake my hubby chose for Deen (an ice cream cake)
Mmmm... bbq food! :)
and Deen loved blowing candles off two cakes (like he did last year)
Here are some pics of Aaliya who is already 8 months old


Tuesday, January 19, 2010
Colorful Hand Painting
We did colorful hand prints today. I painted Deens hands and fingers different colors and then he stamped his hand on the piece of paper many times. His hand stamp lightened each time since I didn't repaint his hand which he found interesting.)
Then he painted my hands
And as I stamped he said say, "Deen, I love you." Which I happily did :)
We added some colored salt and googly eyes.


Fly safely with your kids
I am a very nervous flyer and hate having to fly(this is odd since we travel A LOT). I am so scared of all the millions of things that can go wrong on a flight(which I blame on Discovery's Air Crash Investigations)!
We decided to fly to Singapore/Malaysia/Thailand in December. After having heard about a Continental Airlines flight that had bad turbulence in the air and how there were a few injuries I immediately started wondering about whether we could bring Deen's car seat on board.
I wondered how we would manage carrying a car seat while caring for two kids under 3.
I then found the CARES Child Aviation Restraint System and was immediately sold on this product. You are basically giving your child a 5 point harness instead of them using those flimsy little lap belts on the airline seats. Kids are so tiny that honestly I don't feel like those lap belts will hold them down in case of an emergency or bad turbulence.
The CARES system gave me one thing less to worry about on the flight. When we hit turbulence I could easily grab my husbands hand(I'm a big baby) instead of having to worry whether my son would be safe and secure.
The CARES belt is made of good sturdy material, it includes an FAA Approval on the seat belt and it folds up pretty small. It takes up very little space in your carry on luggage.
Deen was very excited to use his seat belt and we had no problems using this belt on any of the airlines we travelled on.
Here is a little more information on CARES:


- CARES stands for Child Aviation Restraint System. CARES is a harness-type safety device designed for children who weigh between 22-44 lbs and are sitting in their own airplane seats. (Generally 1-4/5 years old.)
- CARES takes the place of a car seat when traveling by air with your children and provides an equivalent level of safety (ELOS) to a car seat. (Stated in the FAA certification designation)
- CARES weighs 1 pound (car seats weigh 15-20 lbs).
- CARES comes in a 6 inch stuff sack that fits in a pocket or purse. (Car seats are over 2 feet high, 20 inches wide, heavy, bulky and hard to carry)
- CARES is designed specifically for air travel: it is portable, light weight and easy to use.
- CARES takes one minute to install on any airplane seat and augments the regular lap belt.
- Parents who need the car seat at the other end of trip can ship it through as luggage, and carry their CARES on board.
- CARES has been certified by Canada, the UK, Australia, New Zealand and Singapore. Certification for many other countries is in process.
 Final Thoughts: I think those that CAN travel with their car seats should stick with their car seat since it is also very safe and your child is already familiar and comfortable in it.
For those of you who cannot travel with their car seat for any reason (too big, not enough hands to carry,etc) but would like extra protection and more peace of mind the CARES system is perfect!


