
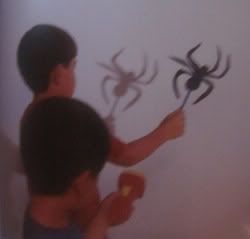
We created Halloween Shadows today and this proved to be great during bedtime.
I downloaded the Kiddy Halloween Font and added them to Microsoft Word. I printed it on black paper and cut out the shapes.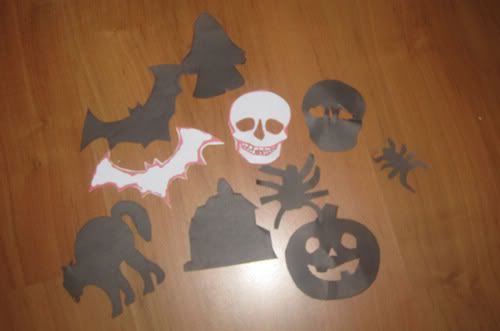
Tape a straw or stick to the back and go into a darkened room. Flash the flashlight through your image onto a wall or doorway.
The possibilities for this are endless. Imagine storytelling using these shadows or others :)
Thursday, October 29, 2009
Halloween Shadows

Wednesday, October 28, 2009
Pumpkin Skills Activity
For today's Halloween related activity we practiced on pincer grasp and hand eye coordination.
(I was actually doing this activity for open ended art but I didn't link up to open ended art because it was too structured to be considered open ended art.) Materials needed: Printed pumpkins on paper, food coloring, medicine dropper, and some water.
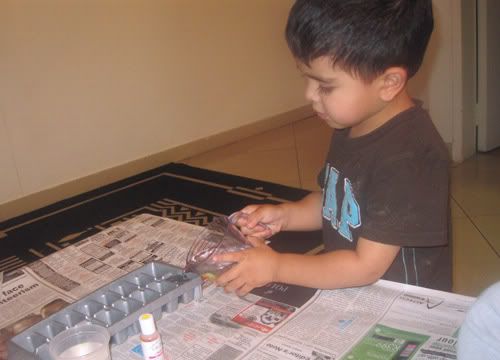
Deen poured the water into the ice tray and then we added red and yellow colorings. We then mixed red and yellow to make orange.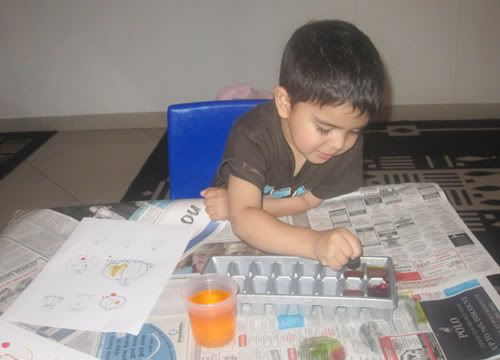
Then Deen had to squeeze and transfer the orange food coloring to the pumpkins on the paper.
I made the paper by googling pumpkin coloring pages, then copying the image and pasting it into word. I then printed it out onto normal computer paper.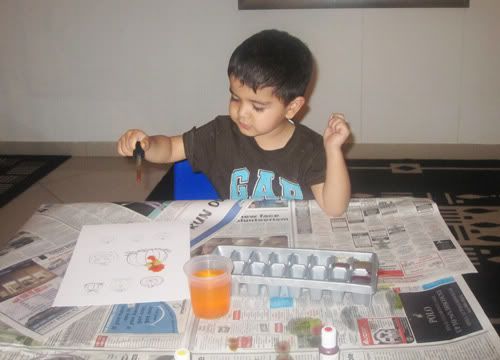
Monday, October 26, 2009
Color and Erase

Today we did a really easy activity but yet it was still a lot of fun! We colored with chalk onto the paper and then we used water and a paintbrush to erase the colored chalk away!
Deen found this really amusing as the colors would disappear from his paper whenever he would touch the water dipped paintbrush onto his paper.
He could make designs while making the colors disappear...
Materials Needed: 2 colored paper, colored chalk, a small paintbrush, and some water.
This is the paper we used:
 That's his face as he was saying "Mama.. see the colors colors... look whats happening to them.. they are going away.."
A quick, fun, and easy activity! We definitely plan to do this again! :)
Thursday, October 22, 2009
Crepe Paper Painting
 I found this idea for crepe paper painting in MaryAnn Kohl's book First Art (and I've seen it around some blogs in the past) so I thought today would be the perfect day to try it.
Warning: This activity stains hands for a day or two. It can be as messy as your child's age. The older the child the neater they can be... but for the young ones they seem to dig right in!
Materials needed: Crepe paper, white paper(I use card stock for painting activities), rubber band or string, and some water. Roll up some crepe paper. Tie a rubber band or a string to keep it circular.
 Dip in water and paint.
An older child would dip the tip of the crepe paper into the water and paint thus keeping it slightly mess free. If you then wanted to reuse or it became soggy all you would need to do is cut the bottom wet part off.
Deen on the other hand decided to jump right in... He soaked the crepe paper and found it exciting to squeeze the color out.
At this stage my heart started pounding... look at the mess!! at the excitement he showed... very proud moment indeed.
Don't faint at the mess... it really wasn't THAT bad cleaning it up ... I Promise! Here is his finished but still wet painting.
Monday, October 19, 2009
Elmo cut and paste activity + printable!
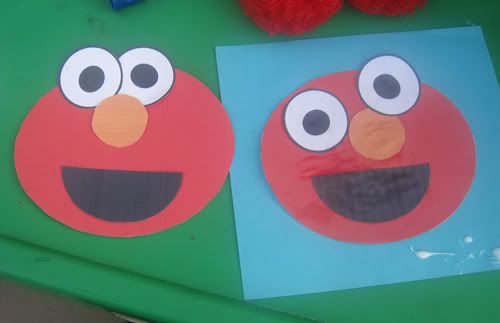
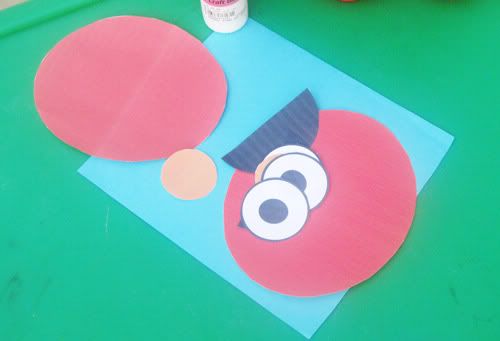 Deen loves Elmo so today we did an Elmo cut and paste activity. (I cut the shapes since Deen is still too young to cut circles).
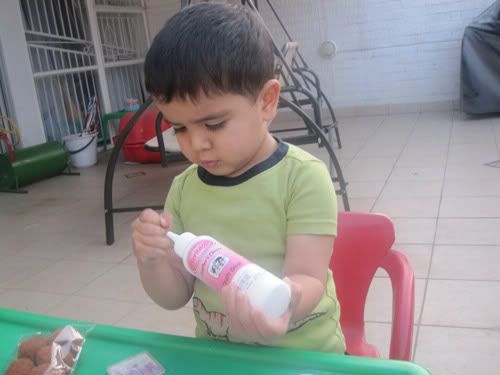 We were having glue malfunction... the glue just did not want to come out so we kept sticking a pin in it... Deen loved sticking the pin in the tiny glue hole.. He did such a great job with it. I was impressed.Deen's Elmo is on the right. I had him bring out his Elmo toy and he placed things accordingly on the paper and glued it on.
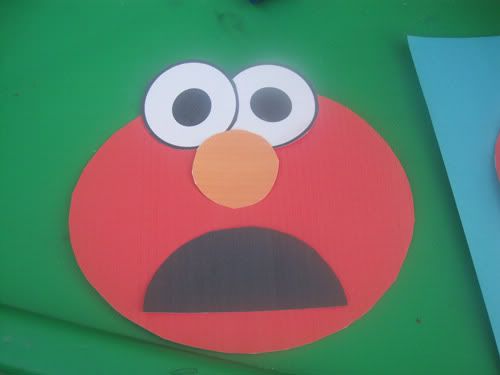 Here is sad Elmo... if you have sticky velcro it would be a good idea to put the sticky velcro onto Elmo's face and his smile and you can have your child interchange them when teaching emotions... or better yet, when your child is upset... Ask them to show you how they feel on Elmo.
Want to do this Craft with your child? Here is a printable... (Or click on the image to go to link)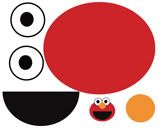
We were actually planning on doing an elmo painting activity today but I did not have the materials on hand so we will be doing that soon too.
Wednesday, October 14, 2009
Happy/Sad Pumpkin Finger Painting

For open ended art today we made finger paint pumpkins. The theme was orange and black. I noticed in yesterdays spider activity that Deen didn't want to get his hands dirty with the paint and his teacher at school mentioned a few days before that he didn't want to play with mud so I took this opportunity to take out the finger paints. I'm going to focus this week for Deen on textures. I will be encouraging touching, feeling, and mixing.
Since we did not have any orange finger paints we squirted red and yellow finger paint.
Deen mixed it and it became orange... (excellent hands on way to teach colors... We used a toothpick to mix but next time i'm going to encourage him to use his fingers)
I had printed out our pumpkins and cut them. Deen then finger painted them orange. When we were done we added black eyes, nose, and a mouth.
I know that open ended art is supposed to have no guidance but today I knew that Deen needed a SLIGHTLY structured activity. He enjoys open ended art more when me or his cousins do the activity alongside him ( I had a pumpkin to finger paint too).We also talked about emotions and so we made one pumpkin sad and one pumpkin happy.
Would you like to do this activity with your child? Here is a printable: Finger paint pumpkin. (Or click the picture)
Just print the pieces on card stock (or normal paper if that's all you have), Cut, finger paint, glue shapes on :)
To see what others did for open ended art go here.
Tuesday, October 13, 2009
Styrofoam Spider


Styrofoam spiders are fun and quick to make!
Materials Needed: 3" Strofoam balls, black paint (I used acrylic since i didnt have any black tempera), black pipe cleaners, glue, googly eyes.
With a Knife cut a piece off the bottom of a ball so it sits flat.
Cut pipe cleaners in half. Paint your styrofoam balls black and wait to dry.
When dry stick the pipe cleaners into the balls. (4 pipe cleaners per side.)
Since I did not have 3" styrofoam balls I just trimmed my pipe cleaners afterwards so the legs weren't too long.
Glue on google eyes and with a red marker.. or red paint... make a mouth. (We used puffy paint.)
When dry you can stick a needle through the body (in and out) with a thread and hang it up onto a ceiling as a pretty decoration.
Wednesday, October 7, 2009
Animal Feet and More Tissue Box Fun!
Here are a few fun ideas with tissue boxes...
Animal Feet:
I would suggest using white tissue boxes unless you plan on using a dark color(black...) or using a million coats of paint... (it took me forever to cover the blue and yellow design on my orange feet!)
Materials needed: Empty tissue boxes, acrylic paint, foam, paint brushes, sponge. Paint over your tissue box with your base color. Since I was doing tiger feet I did a few coats of orange as a base color.
When the base color is dry or almost dryish take a sponge and dab your box with yellow paint. (If you were making the yellow foot than dab with orange paint).
When dry add black lines around your box and then cut some foam nails and place on top. (I was supposed to use orange but I didn't have any orange foam.) If the hole is too small for your kids feet cut it and make it larger. :)
More Tissue box ideas: 
Paint a tissue box in pretty colors to match your room and use it as decor :)
Paint it in Halloween colors, paint ghosts and pumpkins on your box and add candy into the box! (this would be great for a Halloween party or even to leave full of candy outside your door on Halloween if you're not going to be home.)
Monday, October 5, 2009
Magazine Picture painting

We created paintings using pictures from a magazine.
Flip through a magazine and choose some pictures that will create your negative void space..
We chose pictures of people. I cut them up and then we placed them on a piece of paper.
If you are scared of the picture moving then you can use tape like we did in the first pic. (but remember that when you remove the tape you will have to paint over that spot)

Here is Deens cousin Aaliya painting...

Subscribe to:
Posts (Atom)